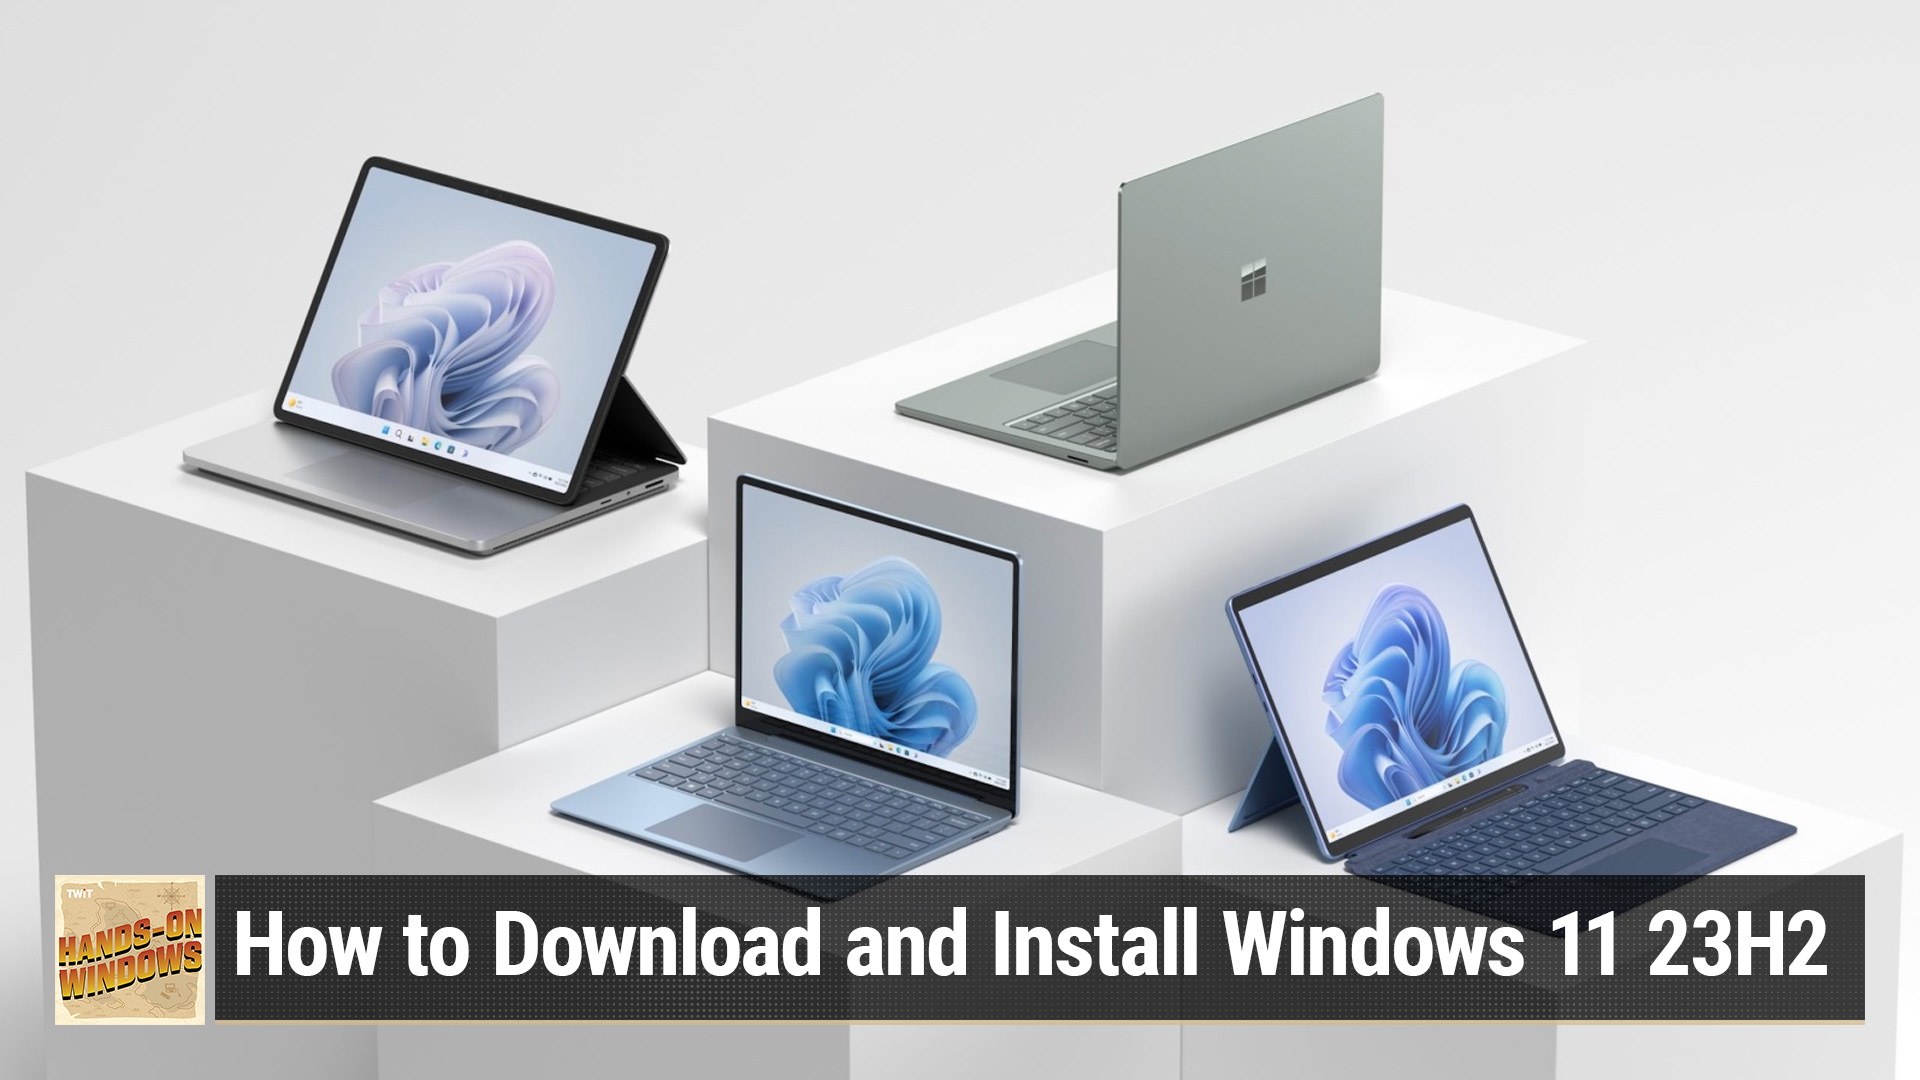
How To Download and Install Windows 11 23H2

AI-created, human-edited.
Overview of Windows 11 23H2
Before we get into the installation methods, let's briefly go over what's new in 23H2. This update includes improvements like tabs in File Explorer, suggested actions when copying dates or numbers, new Taskbar layout options, and better synchronization across your devices.
Upgrade to 23H2 from Windows Update
The easiest way to install 23H2 is to upgrade directly from Windows Update if the update is offered to you.
To check for updates, go to Settings > Windows Update and click Check for Updates. If you see the 23H2 update available, click Download and Install. This will download and install the update just like any other Windows Update.
Use the Windows 11 Installation Assistant
If the 23H2 update isn't showing for you in Windows Update, you can use the Windows 11 Installation Assistant. This will upgrade your system to 23H2 through an internet installation process.
To use it:
- Download the Installation Assistant here.
- Run the assistant and follow the prompts.
- Your system will download 23H2, install it, and reboot.
This in-place upgrade method always works if Windows Update fails.
Use Media Creation Tool
You can also upgrade to 23H2 or do a clean install using the Windows 11 Media Creation Tool:
- Download it here.
- Run it and select "Upgrade this PC now" or "Create installation media."
- Follow the prompts to upgrade or make a bootable USB / DVD with 23H2.
Download the ISO Directly
Finally, you can download the 23H2 ISO file directly from Microsoft. With this image, you can:
- Double-click to mount it and run Setup.
- Use it in Rufus or other tools to create bootable media.
So, in summary, upgrading to Windows 11 23H2 is pretty straightforward. Use Windows Update or the Installation Assistant if Update fails. You can also use the Media Creation Tool or ISO file for more flexibility.
For more helpful Microsoft and Windows tips, subscribe to Hands-On Windows with Paul Thurrott via Club TWiT.
